PyCharm
PyCharm is a full featured Python IDE with a lot of features including syntax highlight, code completion, linting, debugger and many more features.
A word of warning
PyCharm is a complex IDE. Using it requires a good knowledge of Python ecosystem. When starting with Python and Pygame I, as an author, highly recommend that you don’t use PyCharm to do these tutorials. It is better to use traditional code editors as instructed in the First steps and the command-line as it is used throughout tutorials.
Preparations
Best results can be achieved when using PyCharm with pipenv. Installation of pipenv is described in Pipenv chapter. As an example you will be installing Pygame and create a file to test it.
Even PyCharm is and IDE and it is possible to create new projects from the scratch using PyCharm itself it is simpler to use a bit of command-line to create actual project. First you need to create a project directory first by using command-line. If you don’t know how to open and use command-line you can read about it from the Introduction to command-line chapter. If you don’t yet have umbrella directory (it’s recommended, not necessary) for your projects you can read about project directories from the Creating workspace chapter.
Once you have command-line open and your current directory is your umbrella directory create project directory as the following:
$ mkdir myproject
$ cd myproject
Now create Pipfile, create virtual environment and install Pygame as
the following:
$ pipenv install pygame==2.0.0dev6
You installed Pygame version 2.0.0dev6 because it has the most complete set of prebuilt binaries for different python versions and platforms. Pygame 1.9.6 version does lack prebuilt binaries for many platforms and specially for Python 3.8 which the latest at the time of writing.
Setting up PyCharm
Note
Images are captured from the Windows version of PyCharm Professional. Some menus, options and keyboard bindings might be different than yours.
Now it is time to start PyCharm and open directory you just created as a project.
You should see screen like the following:

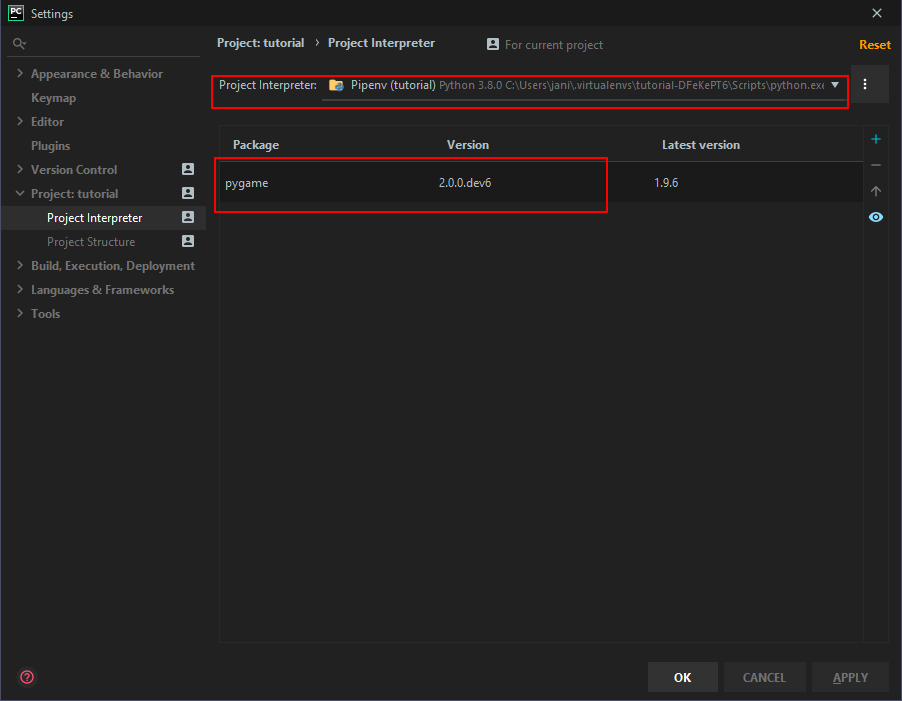
PyCharm might automatically detect Pipfile and setup project interpreter
for you. Sometimes it fails for no apparent reason and it doesn’t mean that
you made mistake.
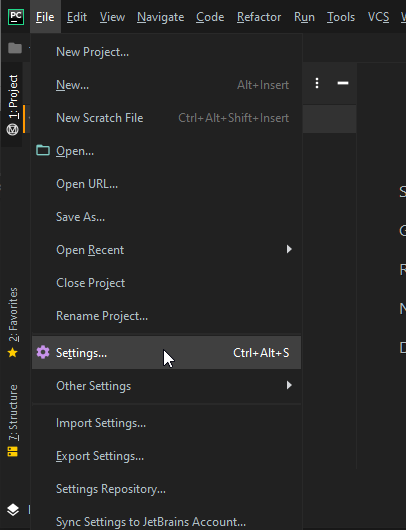
You can check it opening up “Settings”:
Then should see the following:
In the case of automatic configuration failed you see the following:
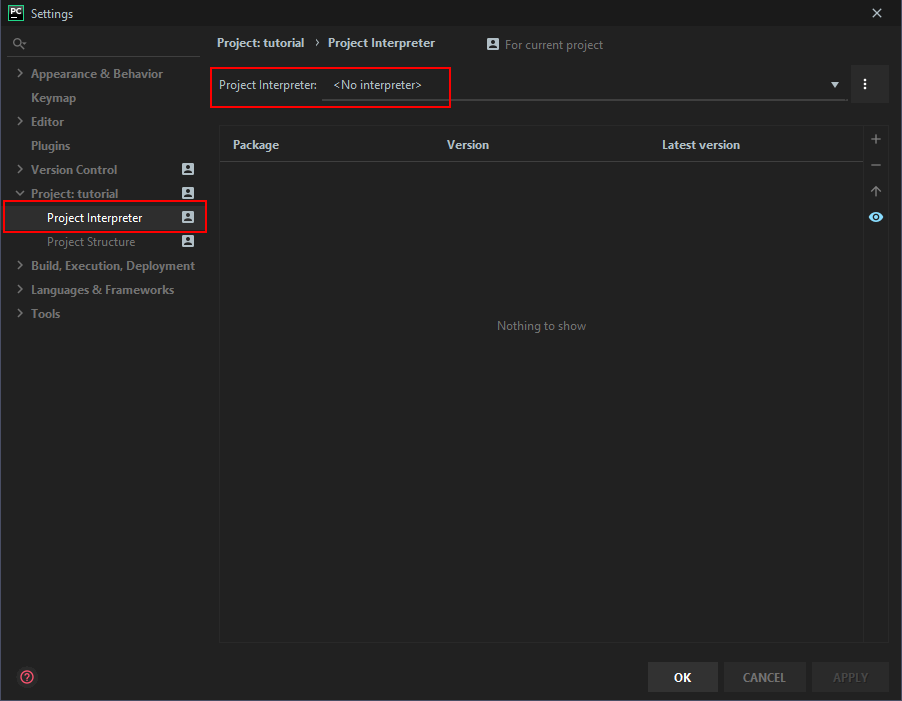
In this case you need to add the interpreter manually.
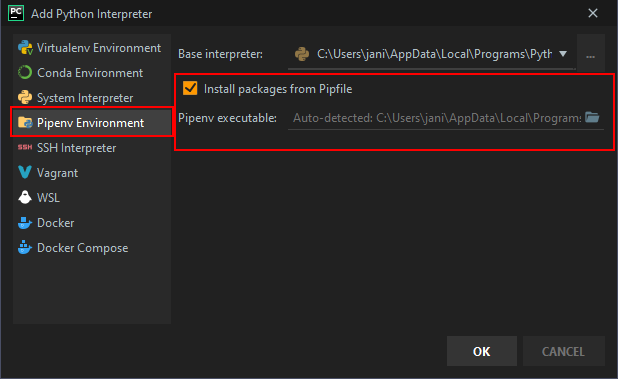
To add interpreter click the three dots next to “<No interpreter>”, and select “Add…” as in the following picture:

Then select “Pipenv Environment”. Ensure that “Install packages from Pipfile” is checked and the Pipenv executable is set properly.
Click OK. PyCharm shows a dialog about creating Pipenv environment. Once completed you should see the following:
Click OK until you’re back in PyCharm main window.
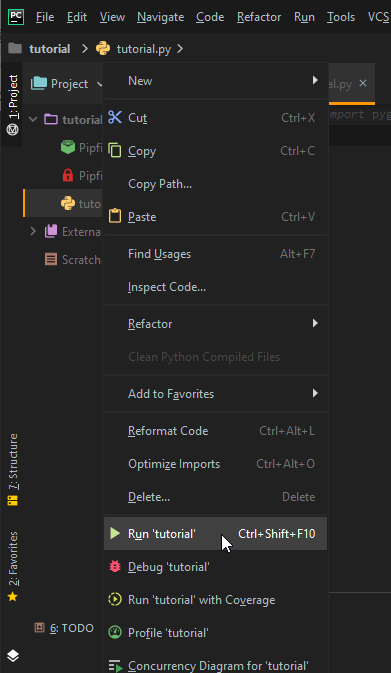
Right-click on your project name and select New -> Python File. Give some name to your file.
Type:
import pygame
Save the file.
Right-click on your newly created file and select “Run: ‘<filename>’”.
If everything went well you should see the following output:

Congratulations you have now working project within PyCharm.